Windows 8.1 is already here! And of course, lovely Skype will not leave us so it has now a new version specially built for Windows 8.1
Here are four guides for different people who want to fully grasp how to use Skype in Windows 8.
1. Are you experienced with both Skype and Windows 8?
I bet you don’t know everything about Skype for Windows 8. There’s a new feature in Skype’s version here called Snap Mode where you can adjust your Skype’s screen space. You can do it by just dragging and resizing the snap windows on the space that you want. Since you’re already an expert, I bet you already know how to that.
You can also use the in-app search wherein you can just easily search whatever you want to find from contacts, conversations, files and even specific words! That’s great, huh!
2. Have you used Skype but not in Windows 8?
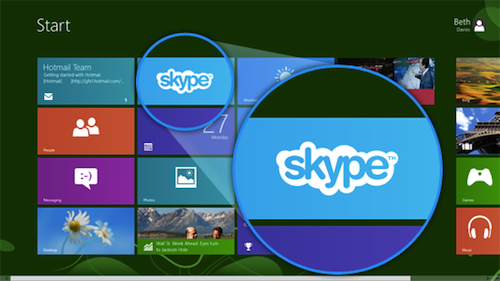
In your screen, just click the Skype icon and be sure to link it first to your Microsoft account.
Upon linking your accounts, did you know that using the in-app search, you can easily add contacts? Simply type your friend’s name and voila, you can already contact him. By right clicking or swiping your mouse in the bottom page, you can easily go back to Skype homepage from anywhere in the app. Then, click or tap home in the tope left corner.
Using the in-app search button, you can also find your existing contacts as well. That’s quick and easy!
Making a call or sending a message is very easy. You can do it in a jiffy by just clicking the person you want to talk to in your Recent, Favorite or People lists.
By using the side-by-side feature, you can run any other apps while using Skype. On the other hand, using the Snap View let’s you easily witch between conversations and go from and to the home page.
3. Using Windows 8 but not yet a Skype user?
Skype is an app where you can make free audio calls and video calls to anyone, anywhere in anytime!
As a new Skype user, register first by linking it with your Microsoft account after accepting Skype’s Term and Conditions.
Second thing to do is to add some contacts. Although you already have some contacts from your Microsoft account, you can still add some more by simply searching in the Skype Directory. Do it by typing your friend’s name in the home page.
After adding contacts, you can simply connect to them by typing their name in the home screen. From there, hit that video or audio call button and start you can now start chatting with your friend!
You can always seek help when you have problems with Skype through Windows 8’s Skype Support and Skype Community.
4. Are your new to both Skype and Windows 8?
You can easily grasp Windows 8’s nature by simply familiarizing yourself with touch screen or mouse control.
If you’re now familiar with Windows 8, you can now start Skype. Simply sign in to Skype by linking it to your Microsoft account and accepting Skype’s Term and Conditions.
Next thing to do is to add some contacts. Do it by typing your friend’s name in the home page.
After adding contacts, you can simply connect to them by typing their name in the home screen. From there, hit that video or audio call button and start you can now start chatting with your friend!
You can always seek help when you have problems with Skype through Windows 8’s Skype Support and Skype Community.
Isn’t it great to have Skype? But what’s greater is Supertintin—an app dedicated to record Skype calls, be it audio or video call. Go to www.supertintin.com to check its might and greatness!

