Skype Manager is used to set up, manage and report on the usage of Skype in your business. It is an online management platform so it is very easy to create accounts for your staff and control their access to applications and services like Skype Recorder and Skype Premium. You also keep complete control – so even if an employee leaves, you retain all remaining credits and business accounts. It also allows you to manage costs and usage.
In order to set up your Skype Manager follow this step by step instructions:
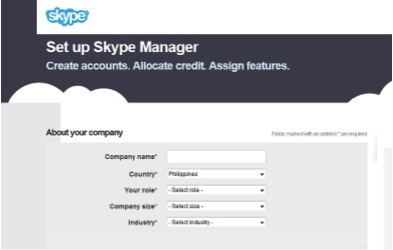
- Go to the Skype Manager page on the Skype website.
- Specify the Skype name you wish to use for your Skype Manager account by following the on-screen instructions. Using either your current personal account name or creating a new one for the express purpose of setting up your Skype Manager is permissible. Either way, you can update your Skype details as soon as the account is created.
- However, we recommend that you use a separate account specifically for this purpose. So, it is better to just create a new account altogether and name it after the purpose for which it was created.
- You will be automatically signed in to Skype Manager as soon as your account has been registered.
- From there, you can now add members to your account – namely your colleagues or the staff who will be using it; and buy Skype Credit to unlock a plethora of products and features that your members may need like Caller ID, Skype Connect, Skype Numbers and Voicemail.
- You can also provide Skype Credits or features to specific team members in case they need it. Assigning a Skype Premium account in order for a particular person to make group calls and screen share is also very easy to do.
PS: Need to record Skype video calls with your staff or colleagues? Use Supertintin!

